Why Compost is Seriously Worth It
Before diving into the how to, let's talk about why composting is such a game changer for suburban gardens:
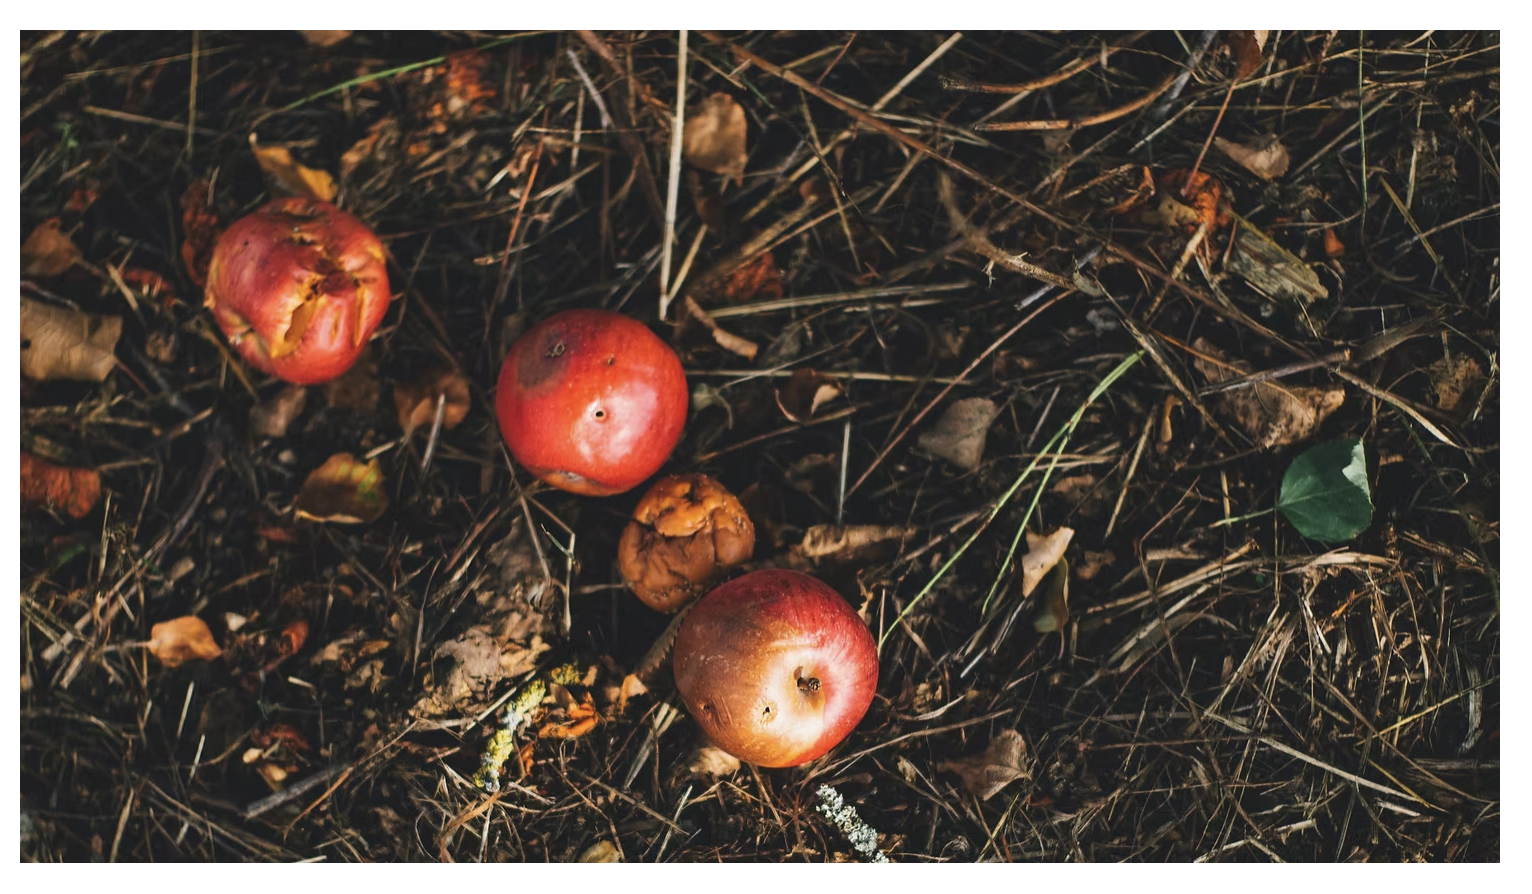
- Transforms Waste into Resources: That average family throws away about 30 percent of their food. Instead of sending all those banana peels and coffee grounds to the landfill, someone can turn them into premium garden fuel.
- Saves Serious Money: Bags of compost at the garden center cost like 8 to 12 dollars each. Gardeners making their own get it free and unlimited. Over a season, that adds up!
- Creates Better Soil: Compost improves soil structure, increases water retention, feeds beneficial microbes, and provides nutrients. It's literally the best thing anyone can add to their garden.
- Reduces Environmental Impact: Food waste in landfills produces methane, a powerful greenhouse gas. Composting at home prevents that while creating something useful.
The Basics: What Composting Actually Is
Composting is basically controlled decomposition. Microorganisms (bacteria, fungi, and other tiny creatures) break down organic matter into this rich, crumbly, soil like material. The gardener's job is just to create the right conditions for these little workers to do their thing.
It's not complicated science. Nature does this all the time on forest floors. Gardeners just speed it up and contain it in one spot.
The Recipe for Perfect Compost
Great compost needs four key ingredients. Get these right and success is pretty much guaranteed:
1. Browns (Carbon Rich Materials)
These provide carbon and create air pockets in the pile:
- Dry leaves (autumn is basically a goldmine for this!)
- Shredded newspaper and cardboard
- Straw or hay
- Small twigs and wood chips
- Paper towels and napkins (unbleached)
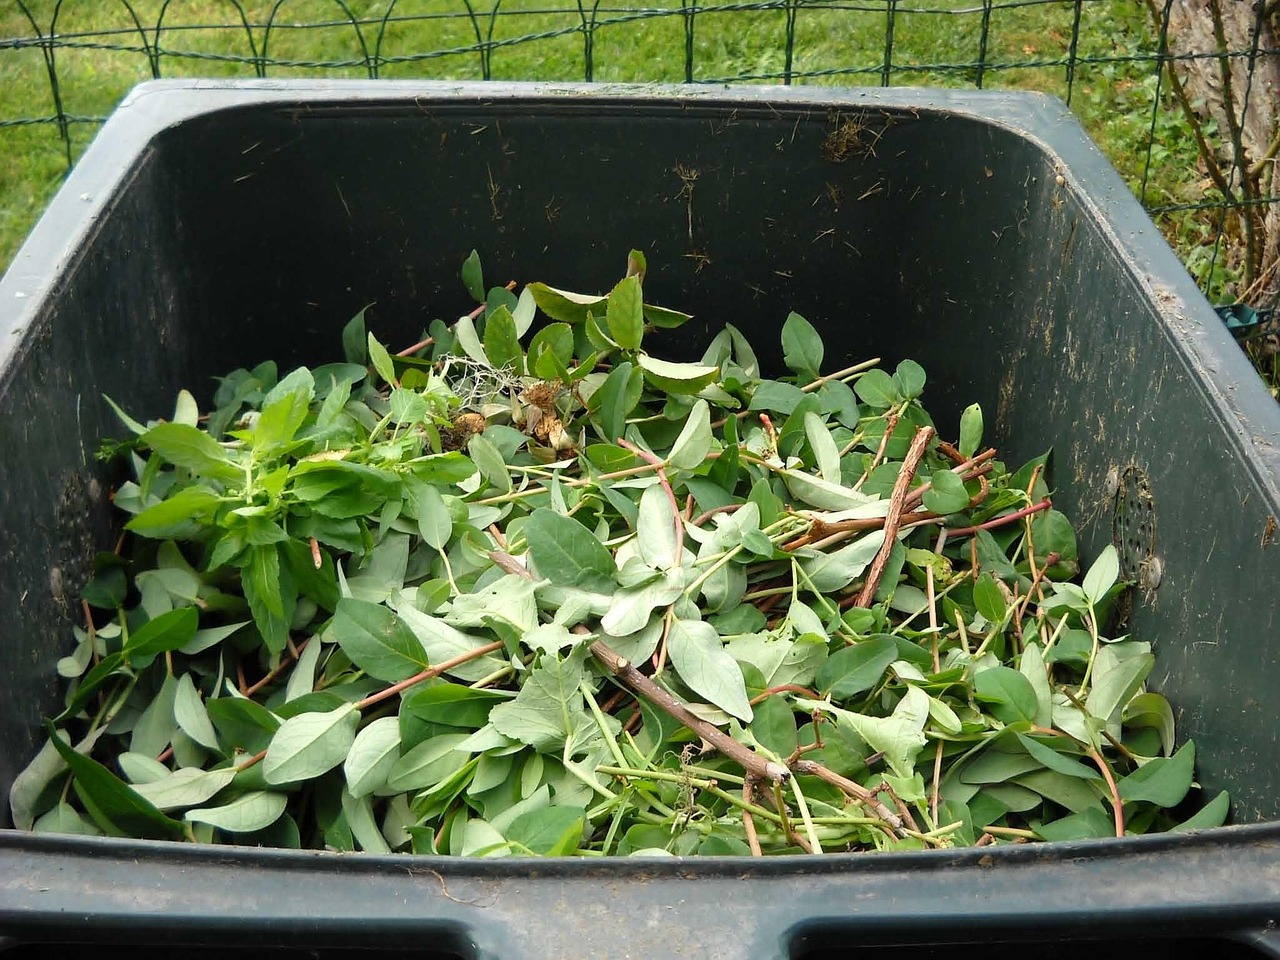
2. Greens (Nitrogen Rich Materials)
These provide nitrogen and protein for the microbes:
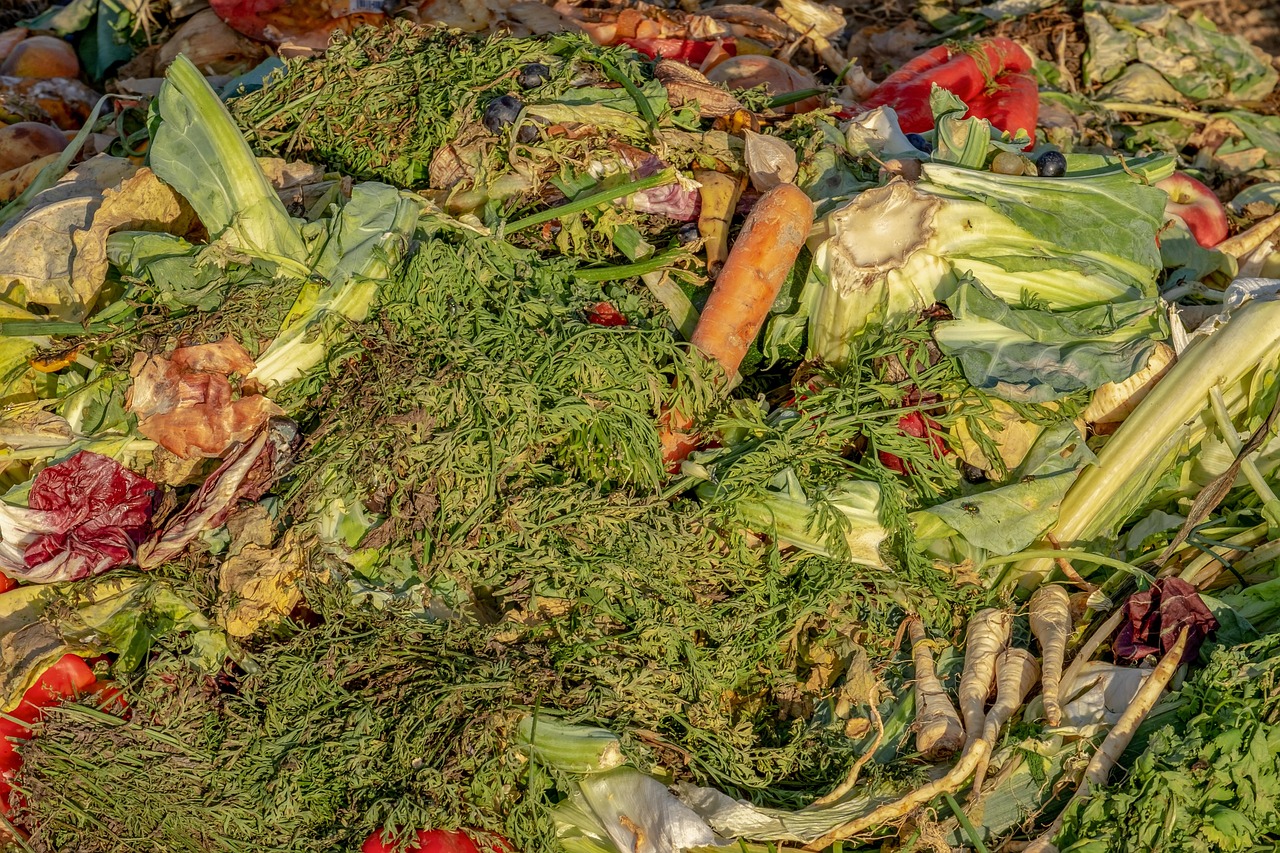
- Fruit and vegetable scraps
- Coffee grounds and filters
- Grass clippings (fresh)
- Plant trimmings
- Tea bags (remove staples)
3. Water
The pile should be about as moist as a wrung out sponge. Too dry and decomposition slows way down. Too wet and it gets smelly. Many beginners forget about moisture, but it's super important.
4. Air
Beneficial composting microbes need oxygen. This is why piles should be turned occasionally and why browns are important (they create air spaces).
The Magic Ratio: Browns to Greens
The ideal ratio is about 3 parts browns to 1 part greens by volume. This isn't rocket science though. If the pile starts smelling bad, add more browns. If it's not breaking down, add more greens and water.
Most suburban gardeners don't measure anything. They just eyeball it and adjust based on how the pile looks and smells. It's pretty forgiving.
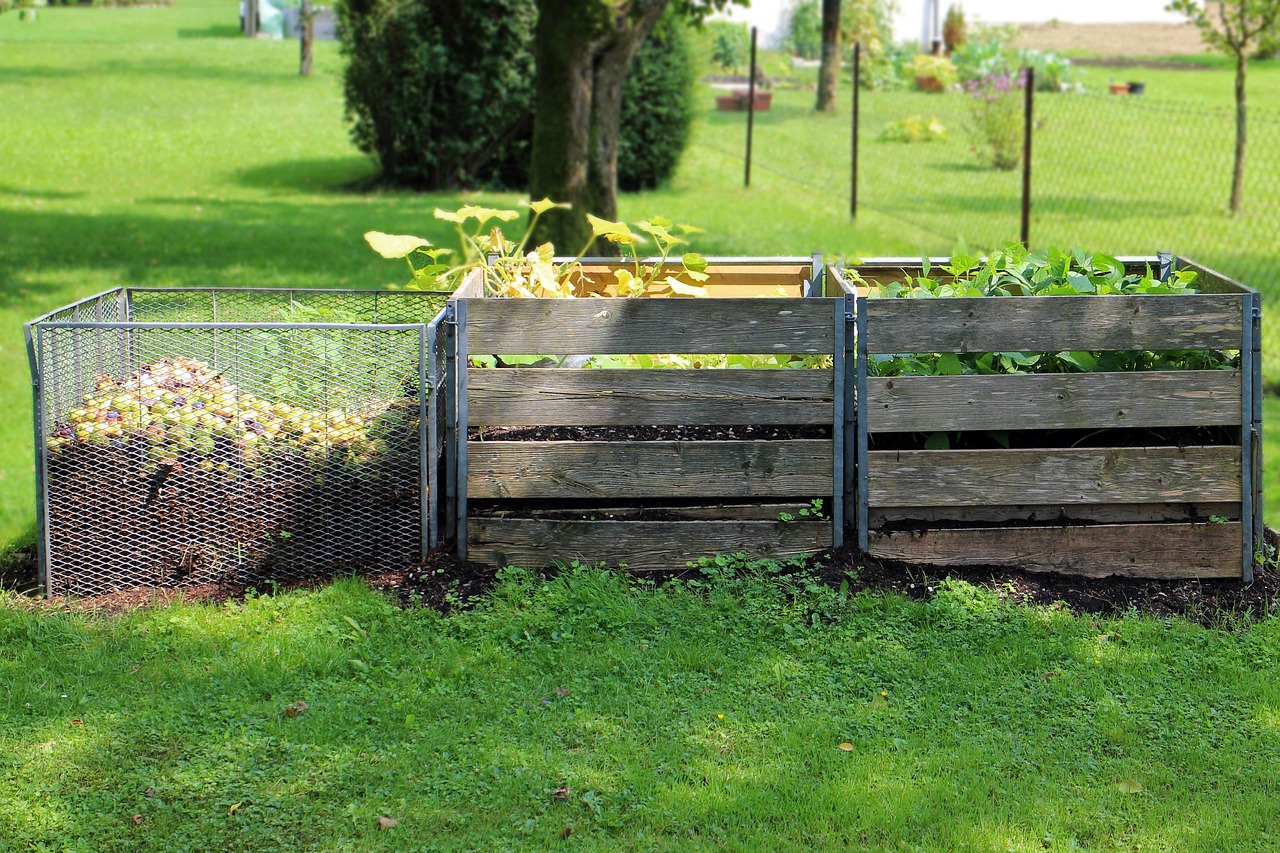
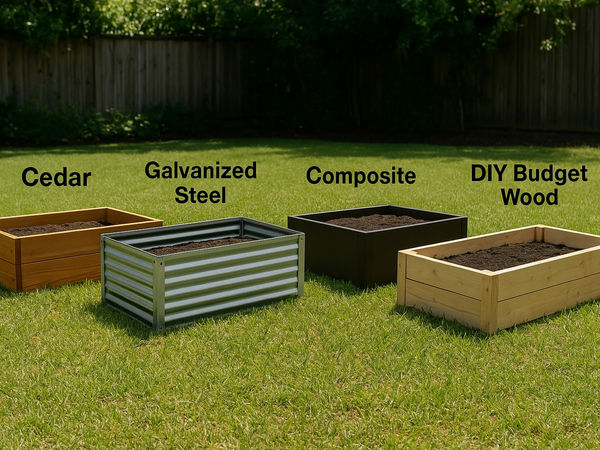
Compost Bin Options for Suburban Yards
Different setups work for different situations. Here's what suburban gardeners typically use:
Simple Wire Bin ($20 to 30)
Just wire fencing formed into a circle about 3 feet across. Super cheap, easy to make, and works great. Not the prettiest option but definitely functional. Many gardeners start here and never feel the need to upgrade.
Three Bin System ($100 to 200)
One bin for fresh material, one for actively composting material, one for finished compost. This system is amazing for serious gardeners who go through a lot of compost. It's the gold standard but requires more space and investment.
Tumbler ($100 to 300)
These rotating bins make turning the pile super easy – just give them a spin every few days. They produce finished compost faster than static bins. Great for people with limited mobility or small spaces. The downside is they hold less material than open bins.
Store Bought Bin ($50 to 150)
Lots of nice options available that are compact, neat looking, and work well in suburban yards. Many cities even offer discounted or free compost bins to residents. Worth checking!
DIY Pallet Bin (Free to $40)
Four wooden pallets wired together make an excellent bin. Free if someone can score used pallets. This is probably the most popular DIY option in suburban neighborhoods.
What Goes In (And What Definitely Doesn't)
Perfect for Composting:
- All fruit and vegetable scraps
- Coffee grounds, tea bags, filters
- Eggshells (crushed)
- Nutshells (except walnut)
- Yard waste (grass, leaves, plant trimmings)
- Shredded paper and cardboard
- Sawdust from untreated wood
Never Compost These:
- Meat, fish, bones (attracts pests, smells terrible)
- Dairy products (same issues as meat)
- Oils and fats
- Pet waste (can contain harmful pathogens)
- Diseased plants
- Weeds with seeds (unless the pile gets really hot)
- Treated wood, coal ash, or glossy paper
The Process: From Scraps to Finished Compost
Starting the Pile
Begin with a layer of browns (about 6 inches of leaves or shredded cardboard). This creates drainage and air flow at the bottom. Then alternate layers of greens and browns, watering each layer so it's moist but not soaked.
The pile should be at least 3 feet wide and 3 feet tall to generate enough heat for good decomposition. Smaller piles work too, they just take longer.
Maintaining the Magic
Once the pile is going, here's what to do:
- Turn it every 1 to 2 weeks: This adds oxygen and speeds decomposition. Use a pitchfork to move material from the outside to the center and vice versa. If using a tumbler, just give it a few spins.
- Monitor moisture: Squeeze a handful. It should feel like a damp sponge. Too dry? Add water. Too wet? Mix in more browns.
- Check temperature: Active piles get warm (110 to 160 degrees F in the center). This is good! It means decomposition is happening fast. A compost thermometer is fun but not necessary.
- Keep adding material: As space allows, keep adding kitchen scraps and yard waste. Balance greens and browns as they're added.
Troubleshooting Common Issues
Sometimes things go a bit sideways. Here's how to fix common problems:
- Smells bad (ammonia or rotten): Too many greens or too wet. Add browns and turn the pile to add air.
- Not breaking down: Needs more greens, more moisture, or more frequent turning. Could also just be too small to heat up.
- Attracting pests: Don't add meat, dairy, or oils. Bury fresh food scraps in the center of the pile. Consider adding a wire bottom to keep rodents out.
- Too dry and not decomposing: Water it! Many piles fail simply from lack of moisture, especially in dry climates.
When Is It Ready?
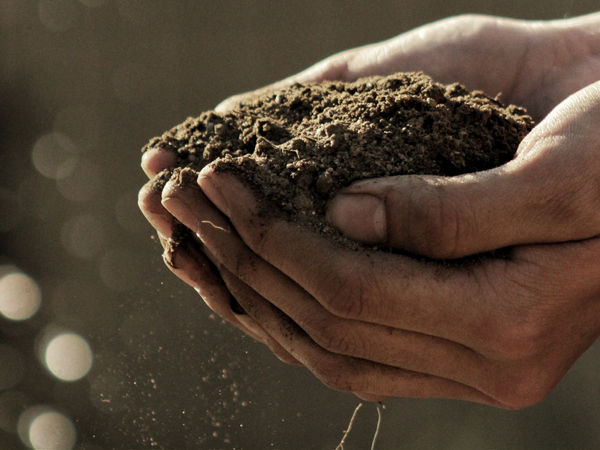
Finished compost is dark brown or black, crumbly, smells earthy (like forest floor), and the original materials are unrecognizable. This usually takes:
- Hot composting (turned regularly): 2 to 3 months in warm weather
- Cold composting (rarely turned): 6 to 12 months
- Tumbler with regular turning: 4 to 6 weeks
Some material might not be fully broken down. That's fine! Screen it out and throw it back in the pile for another round. The finished stuff is ready to use.
Using Finished Compost
This is the fun part! Here's how to use that black gold:
- Garden bed amendment: Spread 1 to 3 inches over beds and work it into the top 6 inches of soil each spring and fall.
- Potting mix: Mix compost with peat moss or coco coir and perlite for amazing homemade potting soil.
- Top dressing: Spread a thin layer around plants during the growing season. It suppresses weeds while feeding plants.
- Compost tea: Steep compost in water to make a liquid fertilizer for watering or foliar feeding.
- Lawn care: Spread a quarter inch layer over lawns in spring or fall. It improves soil without adding thatch.
- Mulch: Use as mulch around trees and shrubs. It feeds them slowly while retaining moisture.
Quick Start Tips for Beginners
Starting composting doesn't have to be overwhelming. Here's the simple path:
- Start small: Begin with a simple bin and just kitchen scraps plus some leaves. Don't overthink it.
- Keep a kitchen container: A small bucket with a lid under the sink makes collecting scraps easy. Empty it every few days.
- Save fall leaves: When autumn comes around, bag up extra dry leaves. They're perfect brown material for the whole year.
- Don't stress ratios: Close enough is good enough. The pile will tell someone if it needs adjustment.
- Be patient: Even doing everything "wrong," compost will eventually happen. Nature is very forgiving.
Beyond the Basics: Level Up
Once gardeners get comfortable with basic composting, there are cool ways to expand:
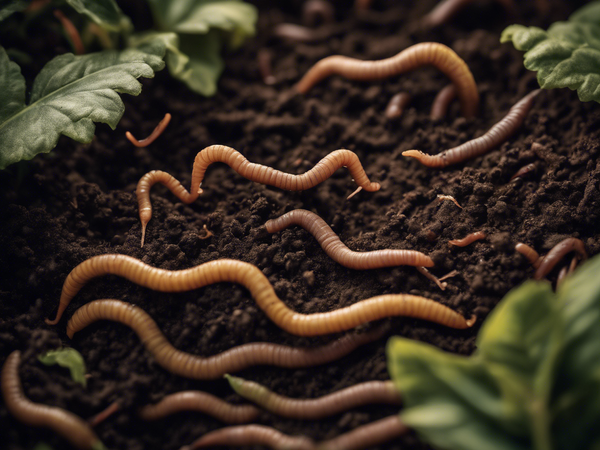
- Vermicomposting: Add red wiggler worms for even faster breakdown and amazing worm castings.
- Bokashi composting: Ferment food scraps (including meat and dairy) in a special bucket before adding to the regular pile.
- Hot composting: Build a large pile all at once and turn it frequently to create finished compost in weeks instead of months.
- Leaf mold: Compost just leaves in a separate pile for premium planting material.
The Community Connection
Composting often becomes a community thing in suburban neighborhoods. Once one person starts, neighbors notice and get curious. Soon there are conversations over fences about browns to greens ratios and whose pile is heating up better.
Many suburban gardeners share finished compost with neighbors, trade composting tips, and collectively gather leaves in autumn. Some neighborhoods even set up community composting systems. The MyHarvst app is perfect for organizing these community efforts and sharing composting success stories.
The Real Magic
The magic of composting isn't just in the finished product (though that dark, crumbly compost is pretty amazing). It's in the mindset shift that happens. Garbage stops being garbage. Kitchen scraps become valuable resources. Gardens improve season after season. And there's this deep satisfaction in closing the loop, creating fertility from what would have been waste.
Plus, there's something incredibly satisfying about digging into a pile that was full of banana peels and coffee grounds a few months ago and pulling out handfuls of rich, earthy compost. That's the real compost magic – turning yesterday's trash into tomorrow's harvest.